Table of Contents
ToggleA walk-in shower pan is the foundation of any modern bathroom renovation, and choosing the right one can make or break your project. Whether you’re upgrading a cramped shower or building from scratch, understanding walk-in shower pan sizes, materials, and installation requirements saves money, prevents leaks, and ensures your DIY effort actually lasts. This guide walks homeowners through the essentials, from understanding what a walk-in shower pan actually is, to comparing acrylic, fiberglass, and tile options, to tackling installation and maintenance like a pro.
Key Takeaways
- A walk-in shower pan is the watertight foundation that directs water to the drain and must slope at least 1/4 inch per linear foot to prevent water damage and mold.
- Walk-in shower pan sizes typically range from 32×32 inches for compact spaces to 48×60 inches, with 36×48 inches offering the ideal balance for most bathrooms.
- Acrylic and fiberglass pans cost $200–$800 and install quickly, while tile and stone options range $500–$2,500 but require professional installation and ongoing maintenance.
- Proper substrate preparation, waterproofing, and full cure time (24 hours to 7 days) are critical to preventing leaks and structural damage.
- Regular maintenance extends pan lifespan: acrylic and fiberglass last 15–20 years, while properly sealed tile lasts 20–30+ years with ventilation and inspection.
- Pre-formed acrylic pans deliver the best DIY value, while tile offers design flexibility but demands precision and skilled labor or experienced hands.
What Is a Walk-In Shower Pan?
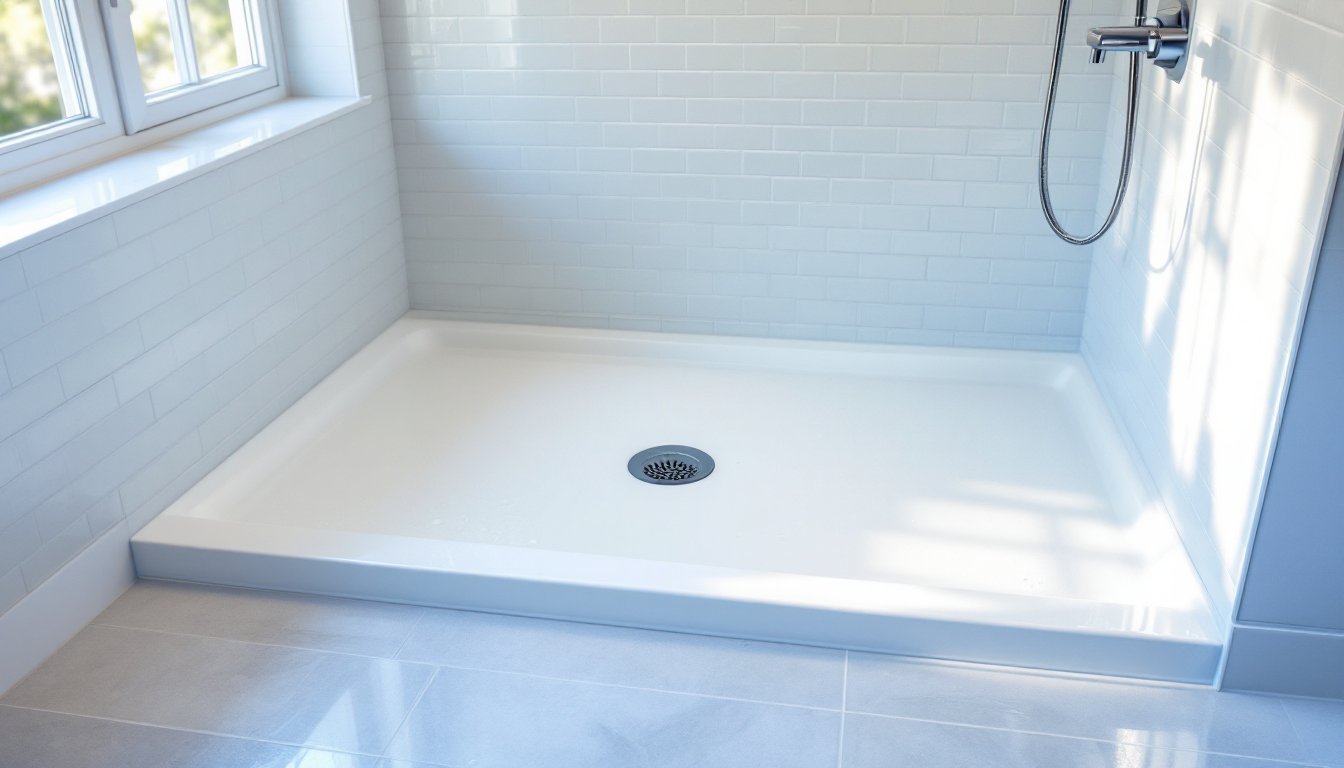
A walk-in shower pan is the watertight base of your shower, the part that catches all the water and directs it to the drain. Think of it as the shower’s foundation. Unlike a traditional bathtub, a walk-in shower pan sits flush or slightly raised from the bathroom floor, making entry seamless and accessible. It’s not just a drain hole in the floor: it’s a properly sloped, sealed basin that prevents water from seeping into your subfloor and causing structural damage.
Walk-in shower floor pans come in standard walk in shower pan sizes to fit most bathroom layouts. Common dimensions range from 32 inches × 32 inches for compact spaces up to 48 inches × 60 inches or larger for primary bathrooms. The key is slope: a proper walk-in shower floor pan slopes at least 1/4 inch per linear foot toward the drain, which is why installation precision matters. Water doesn’t just pool, it flows intentionally.
Why size matters: a pan that’s too small feels cramped and traps water at the edges: one that’s too large can be wasteful and expensive. Most homeowners find that 36 inches × 48 inches hits the sweet spot, enough room to move, not so big that it dominates a modest bathroom. The pan’s depth also varies, typically ranging from 4 to 12 inches depending on the material and whether it’s pre-formed or built on-site.
Types of Walk-In Shower Pans to Consider
Acrylic and Fiberglass Options
Acrylic and fiberglass shower pans dominate the DIY market because they’re affordable, come pre-formed, and install faster than site-built alternatives. Acrylic is the more durable of the two, it’s thicker, more impact-resistant, and holds heat longer. Fiberglass is lighter and cheaper but scratches more easily and can yellow under UV exposure over time.
Pre-formed acrylic walk in shower pans typically cost between $200 and $800 depending on size and quality. Installation is straightforward: the pan sits on a bed of mortar over a properly sloped substrate, and you seal the seams with caulk rated for wet areas (not regular silicone, use 100% silicone or polyurethane-based products specifically labeled for shower use). One trade-off: acrylics and fiberglass lack the visual punch of tile. They also can flex slightly if not properly supported, leading to cracking over years. Good news: if installed correctly on solid, sloped framing, they’ll outlast most renovations.
Tile and Stone Alternatives
Tile and stone are the luxury choice, and the most labor-intensive. Instead of a pre-formed pan, you build the base layer by layer: a sloped substrate (usually cement board or a waterproofing membrane), a mortar bed sloped toward the drain, and then your chosen tile or natural stone. Porcelain tile is more affordable than marble or slate, but all require proper grout and sealing to remain waterproof. A quality tile pan costs $500 to $2,000+ depending on material selection.
Tile offers endless design flexibility and is genuinely beautiful, but it demands precision. The slope, substrate prep, and drainage layout must be flawless, or water finds cracks in the grout and seeps behind the tile. This is a project where hiring a licensed tile contractor often pays for itself in avoided water damage. But, experienced DIYers with attention to detail can succeed using tile installation guides and waterproofing systems specifically designed for shower applications. Many tile professionals now recommend underlayment systems like Kerdi or Schluter to simplify the waterproofing layer and reduce leak risk. Stone is heavier and more porous than tile, requiring sealing after installation, budget extra time and cost for maintenance.
Installation Tips for DIY Enthusiasts
Measure twice, order once. Measure your shower opening (length, width, and height) and the existing drain location before ordering a pan. Walk in shower pan sizes don’t always match your rough opening, you’ll need to account for framing adjustments and membrane overlap. Order your pan 2–3 weeks before starting work if it’s a specialty size: standard sizes ship faster.
Prep the substrate properly. For acrylic or fiberglass, the floor beneath must be solid and flat, warped or sagging joists lead to flexing and cracking. Check existing framing with a 4-foot level. If you’re upgrading an old bathroom, remove the old pan and inspect the subfloor: replace rotted wood before proceeding. Lay 1.5 inches of mortar bed (a stiff mixture of Portland cement and sand, roughly 1:4 ratio) and slope it toward the drain opening. Smooth it with a trowel and allow 24 hours to cure fully.
For tile or stone pans, use a waterproofing membrane rated for wet areas (not just regular tar paper). Remodelista design guides showcase successful shower projects that emphasize the importance of proper membrane overlap, edges should extend 6 inches up the walls and lap at least 6 inches at seams. Tape seams with waterproof mesh tape rated for the product you’re using.
Slope the drain opening correctly. A 1/4-inch drop per linear foot is code in most jurisdictions (check your local IRC, it varies slightly). This prevents standing water and the mold that comes with it. Use a laser level or sloped drain pan to confirm pitch before committing.
Seal seams and caulk lines. After your pan is set and dry, caulk the joint between the pan and the wall frame with a shower-rated sealant. Don’t use standard grout here, use flexible caulk that moves with the home’s settling. Around the drain, use professional waterproofing products designed for this purpose.
Allow full cure time before use. Acrylic and fiberglass need 24 hours minimum: mortar and tile systems need 3–7 days depending on temperature and humidity. Rushing this step is how leaks start.
Maintenance and Durability
Acrylic and fiberglass pans stay clean with regular soap and water, no special products needed. Avoid abrasive scrubbers or acidic cleaners (like vinegar) on fiberglass: they dull the finish. Once or twice a year, inspect the caulk lines and drain for mold or mineral deposits. If caulk separates from the wall, re-caulk immediately to prevent water intrusion.
Tile and stone demand more attention. Grout lines collect mildew and mineral buildup, especially in hard-water areas. Seal natural stone (marble, slate, granite) once a year with a product designed for shower stone. Grout sealers add a protective barrier, but they’re not permanent, plan to re-seal every 1–2 years. Check grout lines annually: if you see cracks or missing grout, repair them quickly.
All pans benefit from good ventilation. Run your exhaust fan during and for 30 minutes after every shower to reduce humidity and mold risk. Ventilation extends the life of the pan, walls, and framing.
Lifespan expectations: acrylic and fiberglass, if installed correctly and maintained, last 15–20 years. Tile, properly sealed and maintained, easily lasts 20–30 years or longer. The substrate and waterproofing beneath matter more than the surface: a failed membrane will cause failure long before the pan material gives up.
Cost Considerations and Budget Planning
Walk-in shower pan pricing breaks down into three layers: the pan itself, labor or DIY time, and surrounding work (walls, framing, plumbing adjustments).
Acrylic/fiberglass pans cost $200–$800 depending on size and quality. Standard 36×48 pre-formed pans from major suppliers run $300–$500. Drain kits, flanges, and hardware add another $50–$150. If you’re doing the work yourself, budget 8–16 hours for substrate prep, installation, and sealing.
Tile or stone pans cost $500–$2,500 just for the materials (pan kit, tile, grout, sealer, waterproofing). This doesn’t include labor: a professional installer charges $50–$150 per hour depending on region and complexity. A 36×48 tile pan typically requires 20–40 hours of skilled work.
Surrounding costs often surprise DIYers. New plumbing rough-in ($200–$500), drywall or tile on three walls ($1,000–$3,000), and waterproofing membranes ($300–$800) add up fast. A modest acrylic pan installation in an existing shower can cost $1,500–$3,000 total: a full tile shower rebuild runs $4,000–$8,000 or more depending on finishes and whether you’re hiring pros.
Budget tips: pre-formed acrylic pans save the most money and time. If you want the look of tile but need to stay on budget, consider porcelain tile, it costs less than natural stone and performs just as well when sealed properly. Order during off-season (late fall or winter) if possible: suppliers sometimes discount mid-season. Finally, invest in proper waterproofing materials and supplies upfront, skimping here is false economy that leads to expensive water damage repairs down the road.