Table of Contents
ToggleFinding a mouse in your home is never pleasant, but reaching for a live mouse trap shows you’re thinking beyond the typical snap trap. A live mouse trap captures rodents without killing them, giving you the option to release them far from your house. Whether you’re dealing with a single intruder or a recurring problem, understanding how these traps work, and which type fits your situation, makes the difference between success and frustration. This guide walks you through the choices, setup, and humane handling that turns a pest problem into a solvable task.
Key Takeaways
- A live mouse trap captures rodents without killing them by using one-way doors, springs, or electronic triggers, allowing you to release them outdoors far from your home.
- Box and cage traps are the most affordable and effective live mouse trap options, costing $5–$20 each, though they require twice-daily checking and direct handling during release.
- Proper placement along baseboards and corners where mice travel, combined with bait like peanut butter or nesting material, is essential for live mouse trap success.
- Always release trapped mice at least 2–5 miles away in suitable habitats and wear gloves when handling to avoid exposure to hantavirus from droppings.
- Sealing entry points smaller than 1/4 inch with caulk or steel wool, removing food sources, and decluttering are critical prevention strategies to avoid recurring mouse problems long-term.
What Is a Live Mouse Trap and How Does It Work?
A live mouse trap captures mice unharmed so you can release them outdoors. Unlike snap traps that kill instantly, live traps rely on one-way doors, spring mechanisms, or electronic triggers that lock the mouse inside once it enters seeking food or shelter.
The basic principle is simple: bait (peanut butter, chocolate, or nesting material) lures the mouse into a chamber. Once inside, a door or gate closes behind it, either by gravity, a spring, or an automated sensor, preventing escape. The mouse remains alive and relatively unharmed during capture, though it will be stressed. This approach appeals to homeowners who prefer not to kill, though it does require you to release the mouse yourself, often at a distance from your home to prevent it from returning.
Most live traps are reusable plastic or wire cages ranging from 5 to 12 inches long, sized to confine a mouse snugly without room to turn around (mice panic less when confined). They’re inexpensive, typically $5 to $20 each, and widely available at hardware stores and online retailers.
Types of Live Mouse Traps: Finding the Best Option for Your Situation
Live traps come in several designs, each with pros and cons. Choosing the right one depends on your space, budget, and how hands-on you want to be.
Box and Cage Traps
The box trap (also called a cube or case trap) is the most common live mousetrap design. It’s a rectangular plastic or wire enclosure, typically 5 to 7 inches long, with a one-way door or flip gate at one end. The mouse enters through a small opening, and either gravity or a spring mechanism closes the door behind it. Setup is straightforward: place bait inside, position the trap against a wall where you’ve seen mouse droppings or activity, and check it daily.
Wire cage traps work similarly but use a metal frame with a hinged or sliding door. They’re durable and allow you to see the mouse inside without opening it fully, which is helpful for identification or if you need to release it carefully. These perform well in garages, basements, and crawl spaces where they won’t tip over easily.
Both designs are effective, affordable, and reusable. The downside: you must check them regularly (at least twice daily in cold weather to avoid the mouse suffering), and you’ll handle the trap and mouse directly during release. Studies on home pest
Electronic and Automated Traps
Electronic live traps use batteries to detect motion and trigger a motorized door. When a mouse enters and breaks an infrared beam or steps on a pressure pad, the door slides shut. Some models hold multiple mice and send smartphone notifications so you know immediately when a catch occurs. Brands like Victor or Rentokil offer these, priced from $30 to $60.
The advantage is minimal checking required and a reduced risk of accidental injury to your hand or fingers. The downside: higher cost, battery dependence, and more complexity if something fails. For a single mouse, a box trap often makes more sense. For recurring problems or rental properties, an electronic option may justify the extra expense.
Choose based on your comfort level and budget. A handy homeowner can manage a traditional box trap: someone who prefers less contact should consider electronic models.
Setting Up and Using Live Mouse Traps Effectively
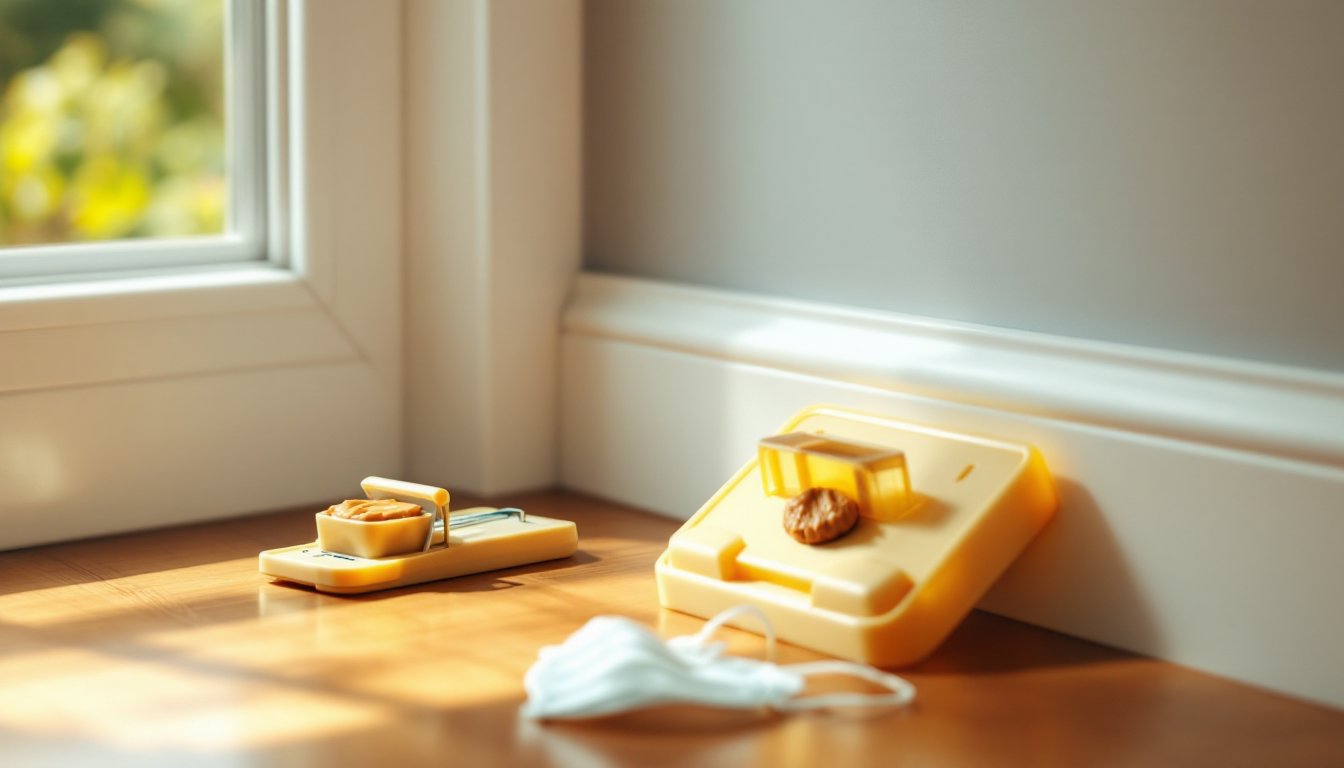
Proper placement and bait are half the battle. Mice follow walls and edges (called wall hugging), so position traps along baseboards, behind appliances, or in corners where droppings are visible. Use multiple traps if you suspect more than one mouse: a single trap won’t solve a widespread problem.
Bait matters. Peanut butter, chocolate chips, or a small piece of nesting material (cotton, dryer lint) work better than cheese, which mice can easily remove. Smear a small amount on the bait paddle or inside the trigger mechanism, don’t overfill, or the mouse may eat without triggering the door.
Check traps every 12 hours, more often in winter. A trapped mouse can dehydrate or panic, especially in extreme temperatures. Wear disposable gloves and a dust mask when handling traps: mouse droppings carry hantavirus, which poses a real health risk. If a mouse has been trapped for several hours, its stress level rises, making release more difficult and potentially deadly.
If the trap isn’t working after 2-3 days, move it to a different location. Mice may avoid a trap that smells of human hands, so consider wearing gloves during setup and baiting. A damp paper towel rubbed along the trap can mask odors. Many DIYers find success by reviewing step-by-step pest control tutorials to refine their placement and trigger techniques.
Humane Handling and Release of Trapped Mice
Once you’ve caught a mouse, you’re responsible for its welfare. Transport the trap carefully, keep it upright, avoid sudden movements, and carry it in a bag or box to reduce the mouse’s stress and visibility.
Release the mouse at least 2 to 5 miles from your home in a suitable habitat: a field, wooded area, or agricultural land where it has shelter and food sources. Never release it in someone else’s yard or in a developed neighborhood, that’s irresponsible and often illegal. Check local regulations: some jurisdictions require you to notify wildlife authorities or have specific release guidelines.
Wear gloves and proceed calmly. Place the trap on the ground, open the door or lift the lid, and let the mouse exit at its own pace. Don’t shake it out or force it. Most mice will run away once they see an opening. If it doesn’t move, leave the trap open and step back: curiosity and the instinct for cover usually prompt movement within a minute or two.
After release, wash your hands thoroughly with soap and warm water, and disinfect the trap with a 1:10 bleach-to-water solution if you plan to reuse it. This removes scent markers and reduces the risk of disease transmission. Some homeowners prefer to dispose of traps after a single use for peace of mind.
Preventing Future Mouse Problems in Your Home
A live trap is a solution, not a prevention strategy. To keep mice out long-term, address the conditions that attracted them in the first place.
Seal entry points. Mice can squeeze through gaps as small as 1/4 inch. Inspect your foundation, sill plates, and areas where pipes or cables enter the house. Caulk small gaps with silicone caulk or steel wool (mice won’t chew through steel). Larger gaps require metal flashing or hardware cloth (1/4-inch mesh). This work is straightforward and avoids the need for licensed contractors unless structural damage is involved.
Remove food sources. Store pantry items, pet food, and bird seed in airtight containers. Clean up crumbs promptly, don’t leave food out overnight, and use sealed trash cans. A single crumb trail can sustain a mouse colony for weeks.
Declutter. Piles of boxes, fabric, or paper provide nesting material. Store seasonal items in plastic bins, not cardboard. Move woodpiles and compost bins at least 10 feet from the house.
Install door sweeps and screen repairs. Gaps under doors are invitations. Install rubber or bristle door sweeps ($5–$15 per door) to seal the gap. Repair or replace damaged window screens.
For comprehensive guidance on sealing and prevention, Family Handyman offers detailed tutorials on rodent-proofing techniques that cover materials, tools, and safety considerations for this work. Prevention is far easier and cheaper than trapping and releasing repeatedly.