Table of Contents
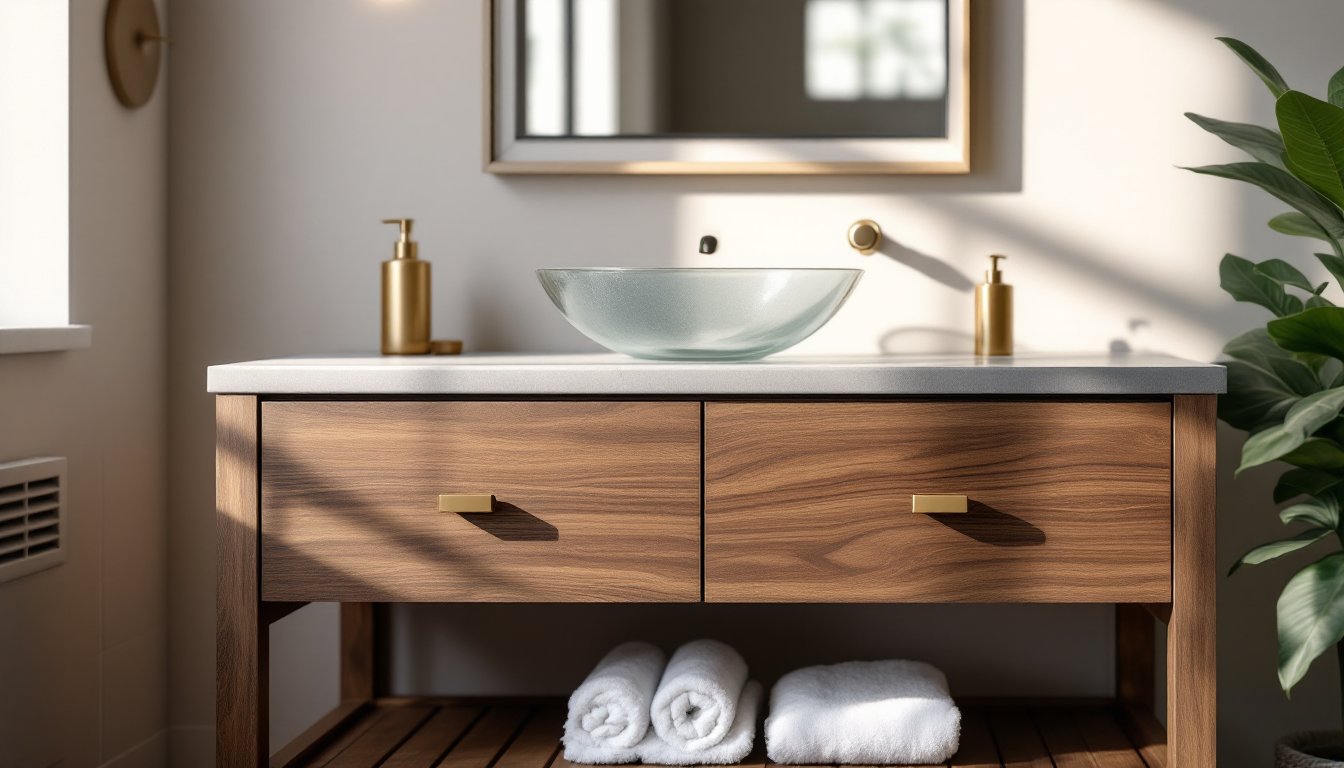
ToggleNatural wood bathroom vanities have shifted from a niche luxury to a mainstream choice for homeowners seeking warmth and character in their bathrooms. Unlike mass-produced laminate or veneer options, a solid wood vanity brings authenticity and durability that can outlast several bathroom trends. Whether you’re renovating a master bath or updating a powder room, understanding the ins and outs of natural wood vanities, from species selection to proper maintenance, ensures you make an investment that truly works for your space and your lifestyle.
Key Takeaways
- A natural wood bathroom vanity lasts 15–25 years or longer when properly finished and maintained, justifying the higher upfront cost compared to budget alternatives that require replacement in 5–7 years.
- Teak, walnut, and white oak are the most moisture-resistant wood species for bathroom vanities, while softwoods like pine and cedar should be avoided due to swelling and warping in humid environments.
- Proper installation requires securing the vanity to wall studs with wood screws, shimming for levelness, and ensuring a waterproof barrier between the cabinet base and floor to prevent moisture damage.
- Running your bathroom exhaust fan during and for 20–30 minutes after showers is the single most effective habit to protect your natural wood vanity from moisture intrusion.
- Annual maintenance with paste wax or furniture polish keeps your natural wood bathroom vanity’s protective finish intact and prevents water damage that can lead to costly repairs or refinishing.
Why Natural Wood Bathroom Vanities Are Worth the Investment
A natural wood bathroom vanity stands out because it delivers both form and function. Unlike hollow-core or particleboard alternatives, solid wood develops character over time, grain patterns deepen, finishes patina, and the piece becomes part of your home’s story rather than a disposable fixture.
Durability is the main payoff. A quality hardwood vanity, properly finished and maintained, can last 15–25 years or longer. That lifespan justifies a higher upfront cost compared to budget cabinetry that may need replacement in five to seven years. Homeowners also appreciate the sound craftsmanship: you can feel the difference when you close a drawer on a solid wood vanity versus a particleboard one.
From a design perspective, natural wood works across aesthetics, farmhouse, modern minimalist, transitional, or traditional. The warm tones and visible grain add a human touch that’s harder to fake with finishes. Websites like Remodelista regularly feature wood vanities as anchors in successful bathroom remodels, showing how the material reads in curated spaces. Resale value also tilts in your favor: buyers often see a wood vanity as a premium, kept feature rather than something to rip out.
Types of Wood and What Works Best for Bathrooms
Not all woods perform equally in the damp bathroom environment. The key is understanding how wood reacts to moisture fluctuations.
Moisture-Resistant Wood Species
Teak sits at the top tier for moisture resistance due to its natural oils and dense grain. It’s the wood of choice for luxury yacht interiors for a reason, it resists rot and warping beautifully. Expect to pay premium prices, typically $2,000–$5,000+ for a solid teak vanity.
Walnut is another solid option. It’s harder than oak, less prone to swelling, and develops a rich chocolate patina over time. A walnut vanity costs between $1,500–$3,500 depending on size and finish.
Oak (red or white) is widely available and affordable ($800–$2,000), but it’s more porous and absorbs moisture more readily than teak or walnut. If you choose oak, the finish and ventilation become critical. White oak outperforms red oak slightly in moisture resistance.
Maple offers hardness and tight grain, making it easier to seal against moisture. It’s mid-range in cost ($1,200–$2,500) and takes stain well, so you can customize the final look.
Avoid softwoods like pine or cedar for bathroom vanities unless you’re building a rustic piece you’re willing to refinish frequently. They swell and shrink noticeably with humidity swings and are prone to denting.
The finish is just as critical as the species. A quality polyurethane or conversion varnish seals the wood and creates a moisture barrier. Ask vanity makers whether they use water-based or oil-based finishes: oil-based urethane is more durable in wet environments but takes longer to cure.
Choosing the Right Natural Wood Vanity for Your Space
Size, Style, and Storage Considerations
Measure your bathroom carefully before you buy or build. A standard vanity runs 24, 30, 36, or 48 inches wide: but, many handmade or semi-custom options fall outside these increments. Check your existing plumbing location, the sink drain and supply lines dictate where holes must be cut. If you’re replacing an older vanity, take note of rough-in measurements (the distance from the wall to the center of the drain).
Height matters too. Standard vanity height is 30–32 inches from floor to countertop, but modern comfort-height vanities stand 34–36 inches, matching standard kitchen counters. If multiple people use the bathroom with significant height differences, standard height remains the safer choice for resale.
Storage and configuration depend on how much gear you’re storing. A single-sink, 36-inch vanity offers enough drawers and a cabinet for most households. If you share a bathroom or deal with a lot of products, consider a double-sink configuration or vanities with deeper storage. Open shelving below looks design-forward but exposes plumbing and offers no concealment, make sure your supply lines and trap are visually acceptable.
Style alignment matters too. A rustic, heavily hand-hewn walnut vanity can jar if your bathroom leans minimalist or contemporary. Conversely, a sleek, thin-profile maple vanity might feel out of place in a traditional farmhouse bath. Look at inspiration sites, 8 stylish new bathrooms with wood vanities showcases how different wood tones and styles pair with tile, fixtures, and lighting. Matching your vanity finish to other wood trim in the bathroom (door frames, shelving) creates cohesion.
Installation Tips for DIY Homeowners
Installing a vanity is an intermediate DIY project, doable for most homeowners with basic carpentry skills, but it demands accuracy and patience.
Preparation is everything. Turn off the water supply and drain the lines before disconnecting existing plumbing. Disconnect the old vanity by unbolting it from the wall or floor (older units may be siliconed: a utility knife and putty knife help break that seal). Once removed, check that the wall and floor are level and square. Uneven surfaces throw off drawer function and create visible gaps.
Installation steps:
- Dry-fit the new vanity in place to confirm it sits flush against the wall and is level front-to-back and side-to-side.
- Shim as needed using plastic shims (wood shims swell in bathrooms). Tighten shims incrementally: over-tightening can bow the cabinet.
- Secure the vanity to wall studs using 2.5-inch wood screws driven through mounting rails into studs (typically 16 inches on center), don’t rely on adhesive alone.
- Cut holes for the faucet and drain using a spade bit (for faucet holes) and a hole saw (for P-trap access). Mark carefully: mistakes are hard to hide.
- Connect supply lines and the P-trap, hand-tightening first, then using an adjustable wrench. Leave slight slack so vibration doesn’t crack lines over time.
- Test for leaks before installing the countertop or backsplash.
Common pitfalls: Vanities that aren’t fastened to studs will eventually shift or sag under weight. If the wall behind the vanity is tiled or there’s no stud where you need one, use heavy-duty toggle bolts or construction adhesive rated for cabinetry (like Liquid Nails for Projects), but studs remain the gold standard. Also, ensure cabinet feet don’t sit directly on tile or vinyl: moisture wicks up and rots the wood from below. A thin cement board or waterproof backer between the vanity base and floor mitigates this risk.
Professional help is worth considering if you’re uncomfortable working with plumbing, if your walls are severely out of plumb, or if you need to move drain lines (which may require a permit and inspection, depending on jurisdiction).
Protecting and Maintaining Your Natural Wood Vanity
The difference between a 10-year-old vanity that looks tired and one that’s still gorgeous comes down to maintenance.
Daily care: Wipe spills promptly with a soft cloth. Bathroom humidity will find its way in, but standing water accelerates damage. Don’t let toothpaste, soap, or cosmetics sit on the surface. Use coasters under bottles or jars.
Ventilation is essential. Run an exhaust fan during and for 20–30 minutes after showers. This single habit dramatically slows moisture intrusion. If your bathroom lacks ventilation, consider installing a simple in-line exhaust fan, a weekend project that pays dividends.
Refinishing the finish: Once or twice a year, apply a paste wax or furniture polish to maintain the protective coat. Products like Minwax Paste Finish or similar cabinet waxes are affordable and replenish the water-resistant seal. If the finish becomes dull or water starts beading unevenly instead of running off, it’s time to recoat.
Deeper restoration: If your vanity has developed water marks, light scratches, or dull patches that wax doesn’t fix, light sanding and reapplication of polyurethane may be needed. This is a one-to-two-day project for the handy, but hiring a refinisher ($300–$800) is also reasonable to preserve an expensive piece.
Address damage fast. A small ding or scratch exposed to moisture can quickly expand into soft wood and rot. Use wood filler rated for bathrooms (water-resistant types exist), sand smooth, and touch up with stain and finish. The sooner you act, the cheaper and easier the repair.
Humidity and acclimation: If you live in a very dry climate and suddenly move to a humid one (or install a steam shower nearby), your wood vanity will expand slightly. Allow a few weeks for the wood to acclimate, and don’t panic if drawers fit a bit snugger initially, they’ll settle. Conversely, in very dry climates, small gaps may appear over time: minor seasonal variation is normal in solid wood and actually a sign you’ve got the real thing. Country Living readers often debate wood vanity quirks in comments, that honest material behavior is part of the charm.