Table of Contents
ToggleOffice shelves aren’t just storage, they’re the backbone of a functional workspace. Whether you’re working from home, running a side business, or just need better organization, the right shelving transforms clutter into purpose. The difference between a chaotic desk and a calm, productive office often comes down to thoughtful shelf placement and smart setup. This guide walks you through selecting, installing, and organizing office shelves so you can actually find what you need and work without distractions.
Key Takeaways
- Office shelves maximize productivity by transforming clutter into organized storage, allowing you to spend more time on work instead of hunting for supplies.
- Floating shelves work best for tight spaces with lighter loads (under 50 pounds), while freestanding units handle heavier equipment and offer flexibility for renters.
- Proper installation requires locating wall studs with a stud finder and using correctly-rated brackets or anchors—a toggle bolt holds about 25 pounds while heavy-duty lag bolts handle 50–100 pounds.
- Organize office shelves by grouping items into categories, using labeled bins for small items, and placing frequently-used materials at eye level for maximum efficiency.
- Fill approximately 70% of shelf space to avoid visual chaos, place heavier items on lower shelves for stability, and add light décor seasonally to create an inviting workspace.
Why Office Shelves Matter for Your Workspace
A well-designed shelf system keeps your office from becoming a dumping ground for papers, books, and random supplies. When everything has a place, you spend less time hunting for the stapler and more time on actual work. Shelves also make vertical use of wall space, something every compact home office needs. Beyond function, shelves add visual structure and can improve focus by reducing visual clutter. They’re also one of the few improvements that pay dividends immediately without requiring electrical work, plumbing, or permits in most cases. Adding shelves is a project you can complete in a weekend and see results the same day.
Types of Office Shelves: Finding the Right Style for Your Space
Floating Shelves vs. Freestanding Units
Floating shelves mount directly to the wall with hidden brackets or a metal rail system, giving you clean lines and the illusion of weightlessness. They work great for smaller offices and work best with loads under 25–50 pounds per shelf, depending on bracket quality and wall type. Freestanding shelving units, typically metal frames with wood or metal shelves, don’t require wall anchors and can be moved easily. They’re ideal if you rent, need flexibility, or don’t want to drill into walls. Freestanding units handle heavier loads (100+ pounds per shelf) without worry, though they eat up more floor space.
Choose floating shelves if wall real estate is tight and you have light-to-medium items (books, small plants, office décor). Go freestanding if you need to move the shelf later, want to store heavier equipment, or prefer not to commit to wall holes.
Wall-Mounted and Corner Solutions
Wall-mounted shelves are king for small offices because they clear floor space and draw the eye upward, making rooms feel larger. They work in any wall area, above a desk, beside a window, or spanning a whole wall. Corner shelves take advantage of dead space and create visual interest. L-shaped corner units are common in shelving systems and surprisingly stable when properly installed. A single corner shelf can hold a printer and supplies without eating into desk real estate, freeing up workspace for actual work. The trade-off: installation requires finding studs or using heavy-duty anchors, and corner positioning means less flexibility for rearranging later.
Installation Guide: Hanging and Securing Office Shelves
Before you drill, locate wall studs using a stud finder (a basic electronic model costs $15–30 and saves hours of frustration). Mark stud locations with a pencil. For floating shelves, you’ll want brackets attached to studs if possible, they typically space 16 inches apart in walls built to standard code.
Materials you’ll need:
- Level (24–32 inches long, not phone levels)
- Power drill with bits
- Stud finder
- Brackets rated for your shelf’s weight plus 50% extra
- Wood screws appropriate to bracket length
- Drywall anchors (if not hitting studs)
- Pencil and measuring tape
Safety gear: Eye protection and work gloves. Dust mask if drilling into older walls.
Installation steps:
- Measure and mark your shelf height. Use a level to draw a horizontal line, don’t eyeball it.
- Locate studs along that line with your stud finder. If studs align with your desired shelf position, you’re golden. If not, you’ll need heavy-duty anchors rated for your shelf weight.
- Pre-drill holes to avoid cracking drywall and to make driving screws easier.
- Install brackets, ensuring they sit perfectly level. Use shims (thin wood wedges) if needed.
- Place the shelf on brackets and secure any set screws if your bracket system includes them.
For freestanding units, assembly is usually straightforward, follow the manufacturer’s instructions, but tighten all bolts fully. Use a level to confirm the unit sits square. If your office floor is uneven (common in older homes), shim the base so shelves are level and stable. Load heavier items on lower shelves for stability: lighter items and décor go higher.
Common mistake: drilling through drywall anchors that can’t handle your load. A typical toggle bolt holds about 25 pounds: a heavy-duty lag bolt with a proper washer can hold 50–100 pounds depending on wall type. When in doubt, use a stud.
Organizing Your Office Shelves for Maximum Functionality
The most beautiful shelf setup fails if you can’t find your tax documents or that cable you need. Start by grouping items by category: reference books together, office supplies in one zone, current projects on accessible shelves, and archived materials higher up or on back shelves.
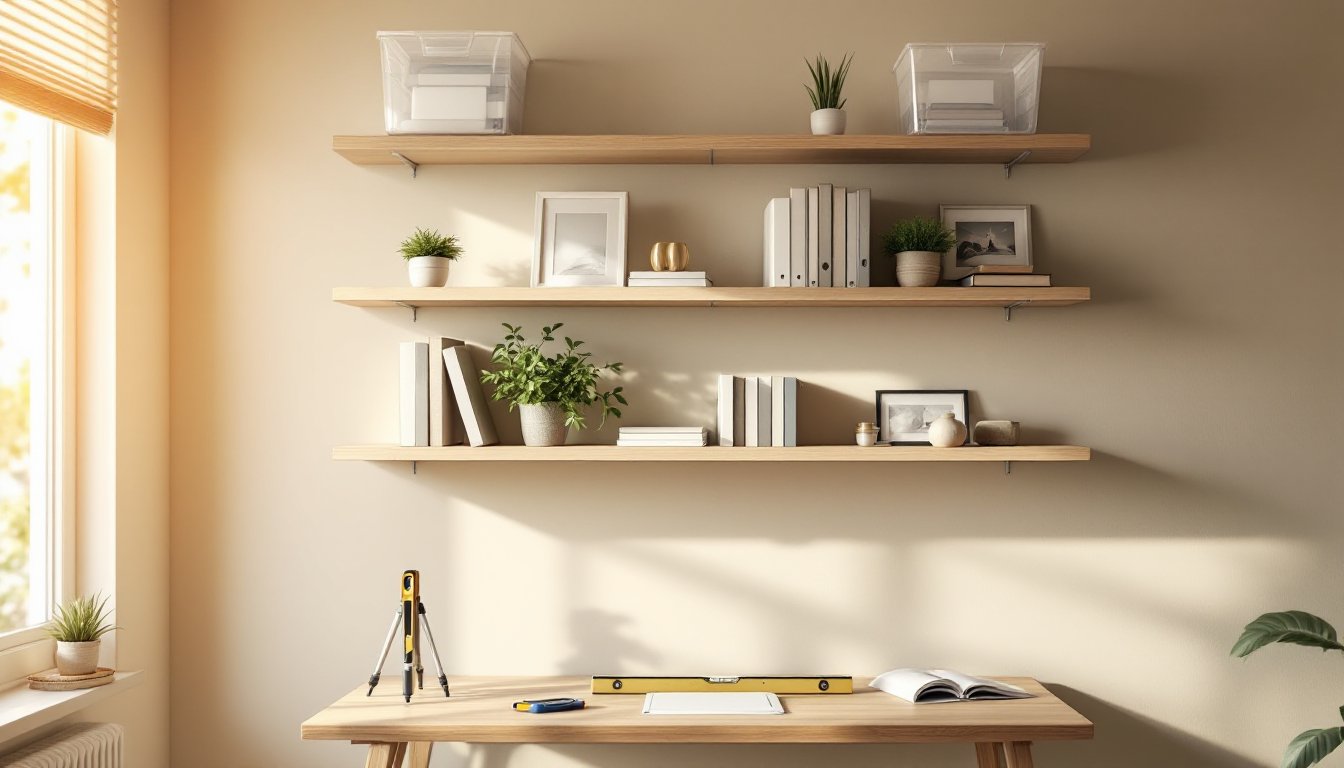
Use clear containers or labeled bins to corral small items, pens, cables, sticky notes. This prevents the visual chaos of loose items and makes inventory obvious at a glance. Books should stand upright (not stacked flat) so you see spines and can pull what you need. For frequently used items, place them at eye level where you naturally look. Less-used materials can live higher or lower.
Leave breathing room, crowded shelves feel chaotic and make items harder to access. A good rule: fill about 70% of shelf space, leaving 30% open or designated for future needs. Heavier items like printers or stacks of paper go on lower, sturdier shelves where they won’t tip or sag.
Rotate décor or inspiring items seasonally. A small plant, a framed photo, or a decorative object on a shelf isn’t wasted space, it breaks up visual monotony and reminds you why your office should feel inviting. Just don’t overload: your office isn’t a shelf display. If you’re building custom shelving, free DIY furniture plans can walk you through designs tailored to your office dimensions. For more detailed project guidance, woodworking project tutorials break down each step. And if you’re tackling this for the first time, beginner woodworking projects give you confidence that this is doable.
Conclusion
Office shelves aren’t complicated to install, but they do require care in planning and execution. The payoff, a workspace where you know where everything is and can focus on work, is worth a few hours of effort. Measure twice, use the right anchors for your walls, and organize thoughtfully. Your future self will thank you every time you sit down at your desk.